Introduction 1: How to create and insert data into designs
In this tutorial series, you will learn the basics of ContentKit: how to assign and insert data, how to use AI to generate content, and how to manage teams and permissions.
When opening ContentKit for the first time, you see a demo project that you can use to try out all the features in the playground file. I recommend you download it and see for yourself, but for now let’s create a new empty project.
Projects are the main container for all your data, similar to projects in Figma. Projects contain screens, which hold all data for a particular “screen” or design frame, for example a detail view or home screen. Inside screens, you can create datasets that contain the actual data for designs. Multiple datasets can be part of a screen, depending on your scenarios.
The hierarchy looks like this:
- Project
- Screen
- Dataset
- Dataset
- …
- Screen
Creating your first datasets
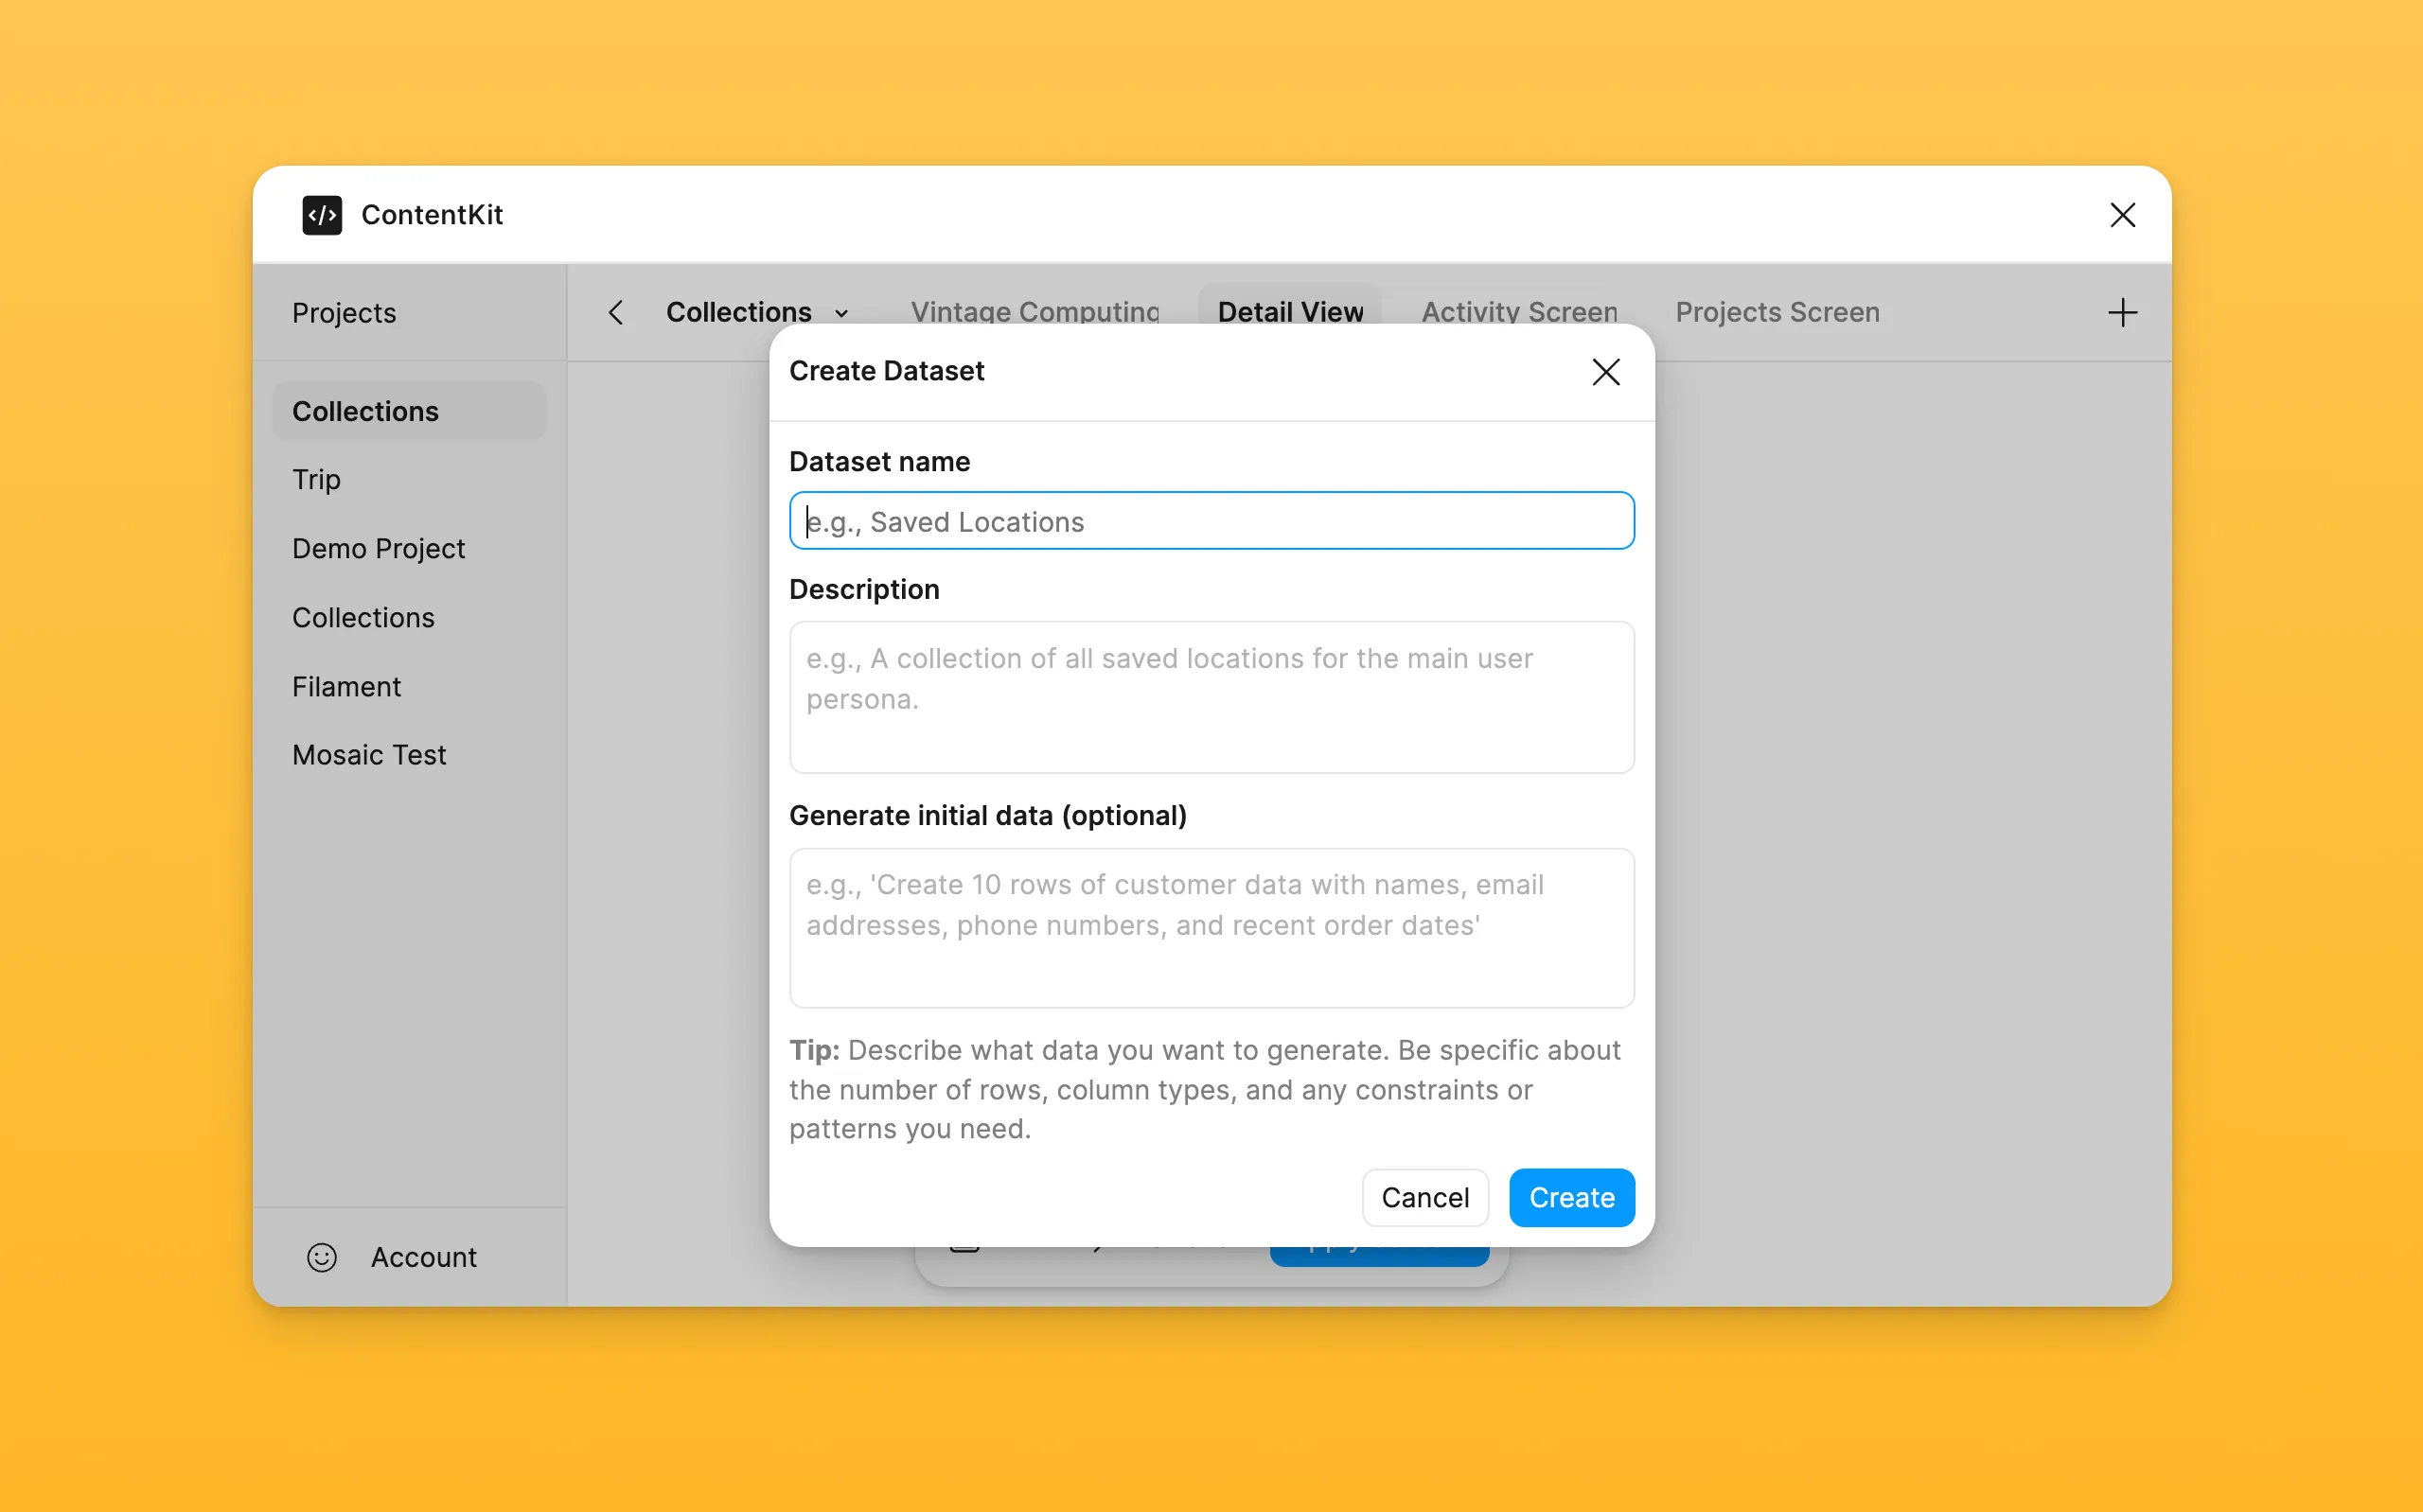
Once you’ve set up your screens, you are ready to start creating datasets. You can either start with a blank dataset, or start with a pre-populated set of AI generated data, if you want to get started quickly or need some inspiration. Your newly created dataset will be visible to all members of your team and you can edit them together.

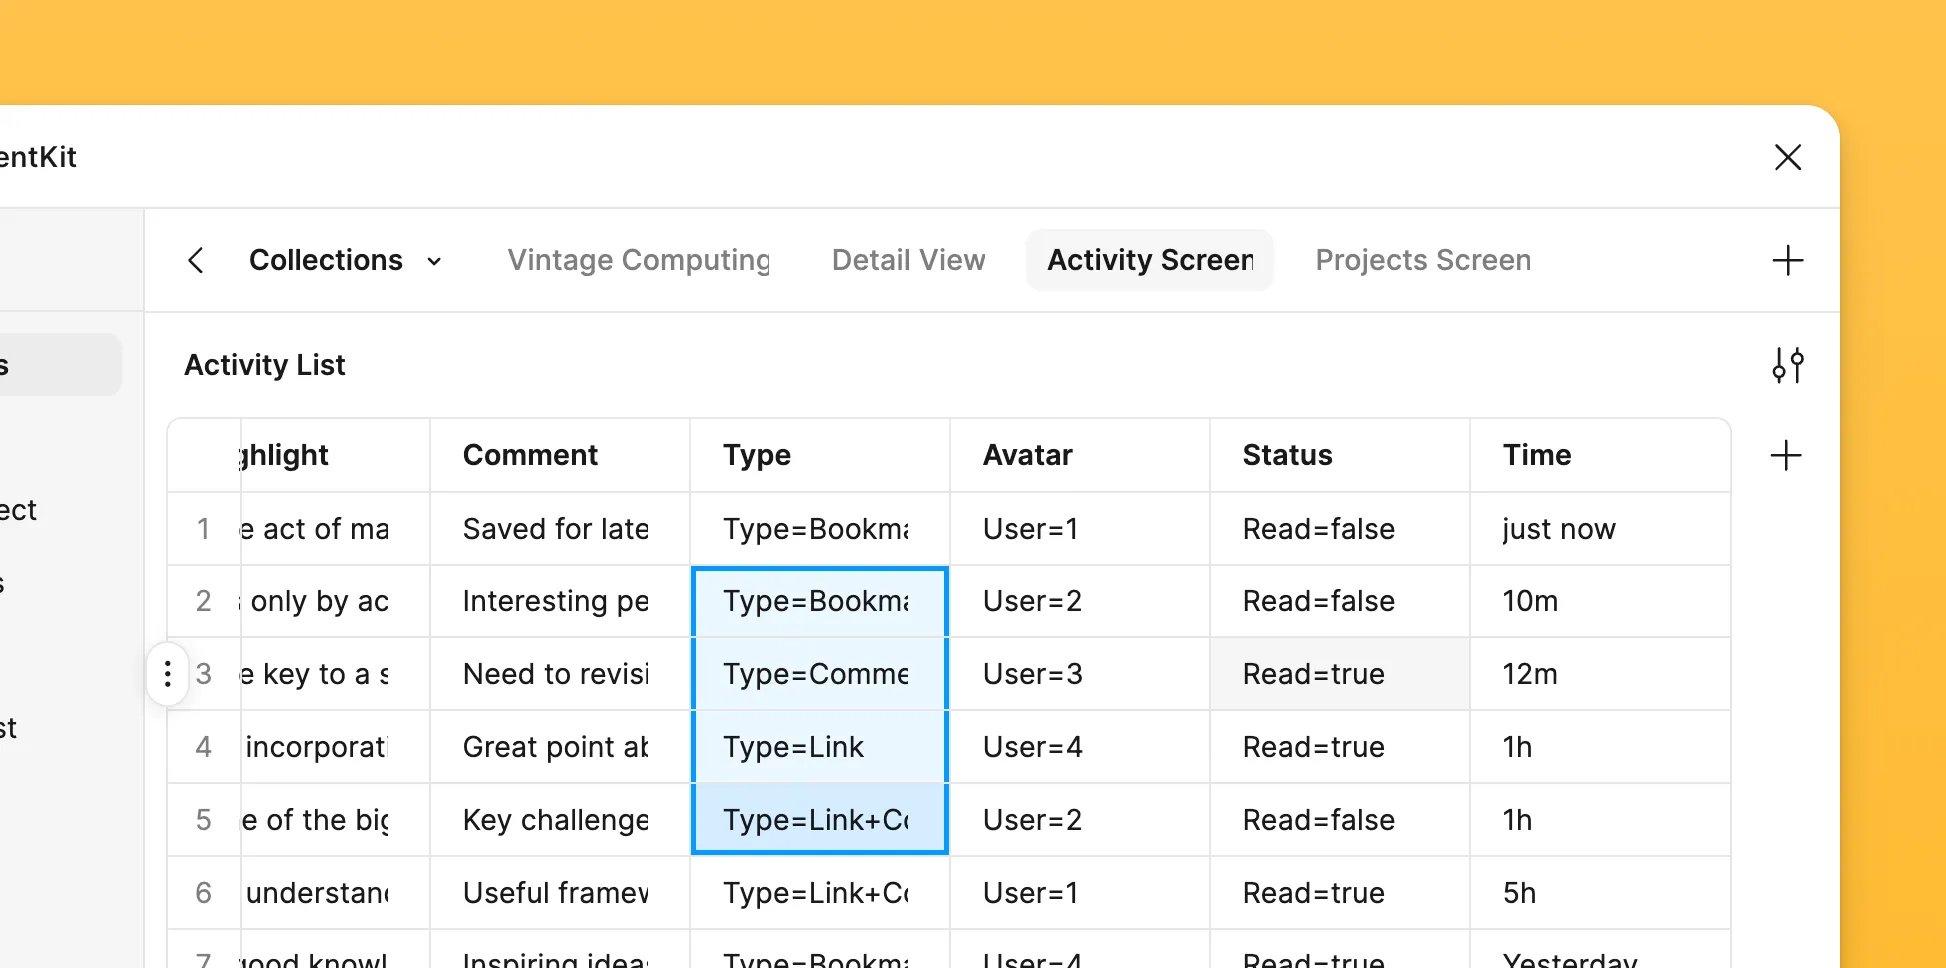
From there you can extend it with new rows or columns. The last row is a placeholder row to easily add new data, but is not part of your dataset (and there will be no empty layers in your designs).
Supported Data Types
ContentKit supports text, colors, and component properties. Text is the simplest to add – simply type something into a cell and assign it. Prefixing a valid hex string with ”#” will turn it into a color. Component properties follow a schema of property name and value joined by an ”=”, for example “State=Hover”. If you are not sure how a property is called, you can check the layers panel in Figma and double click on the variant name. ContentKit supporty the same property types that Figma supports, like variants, text, and booleans.

Use AI to Kickstart Prototypes
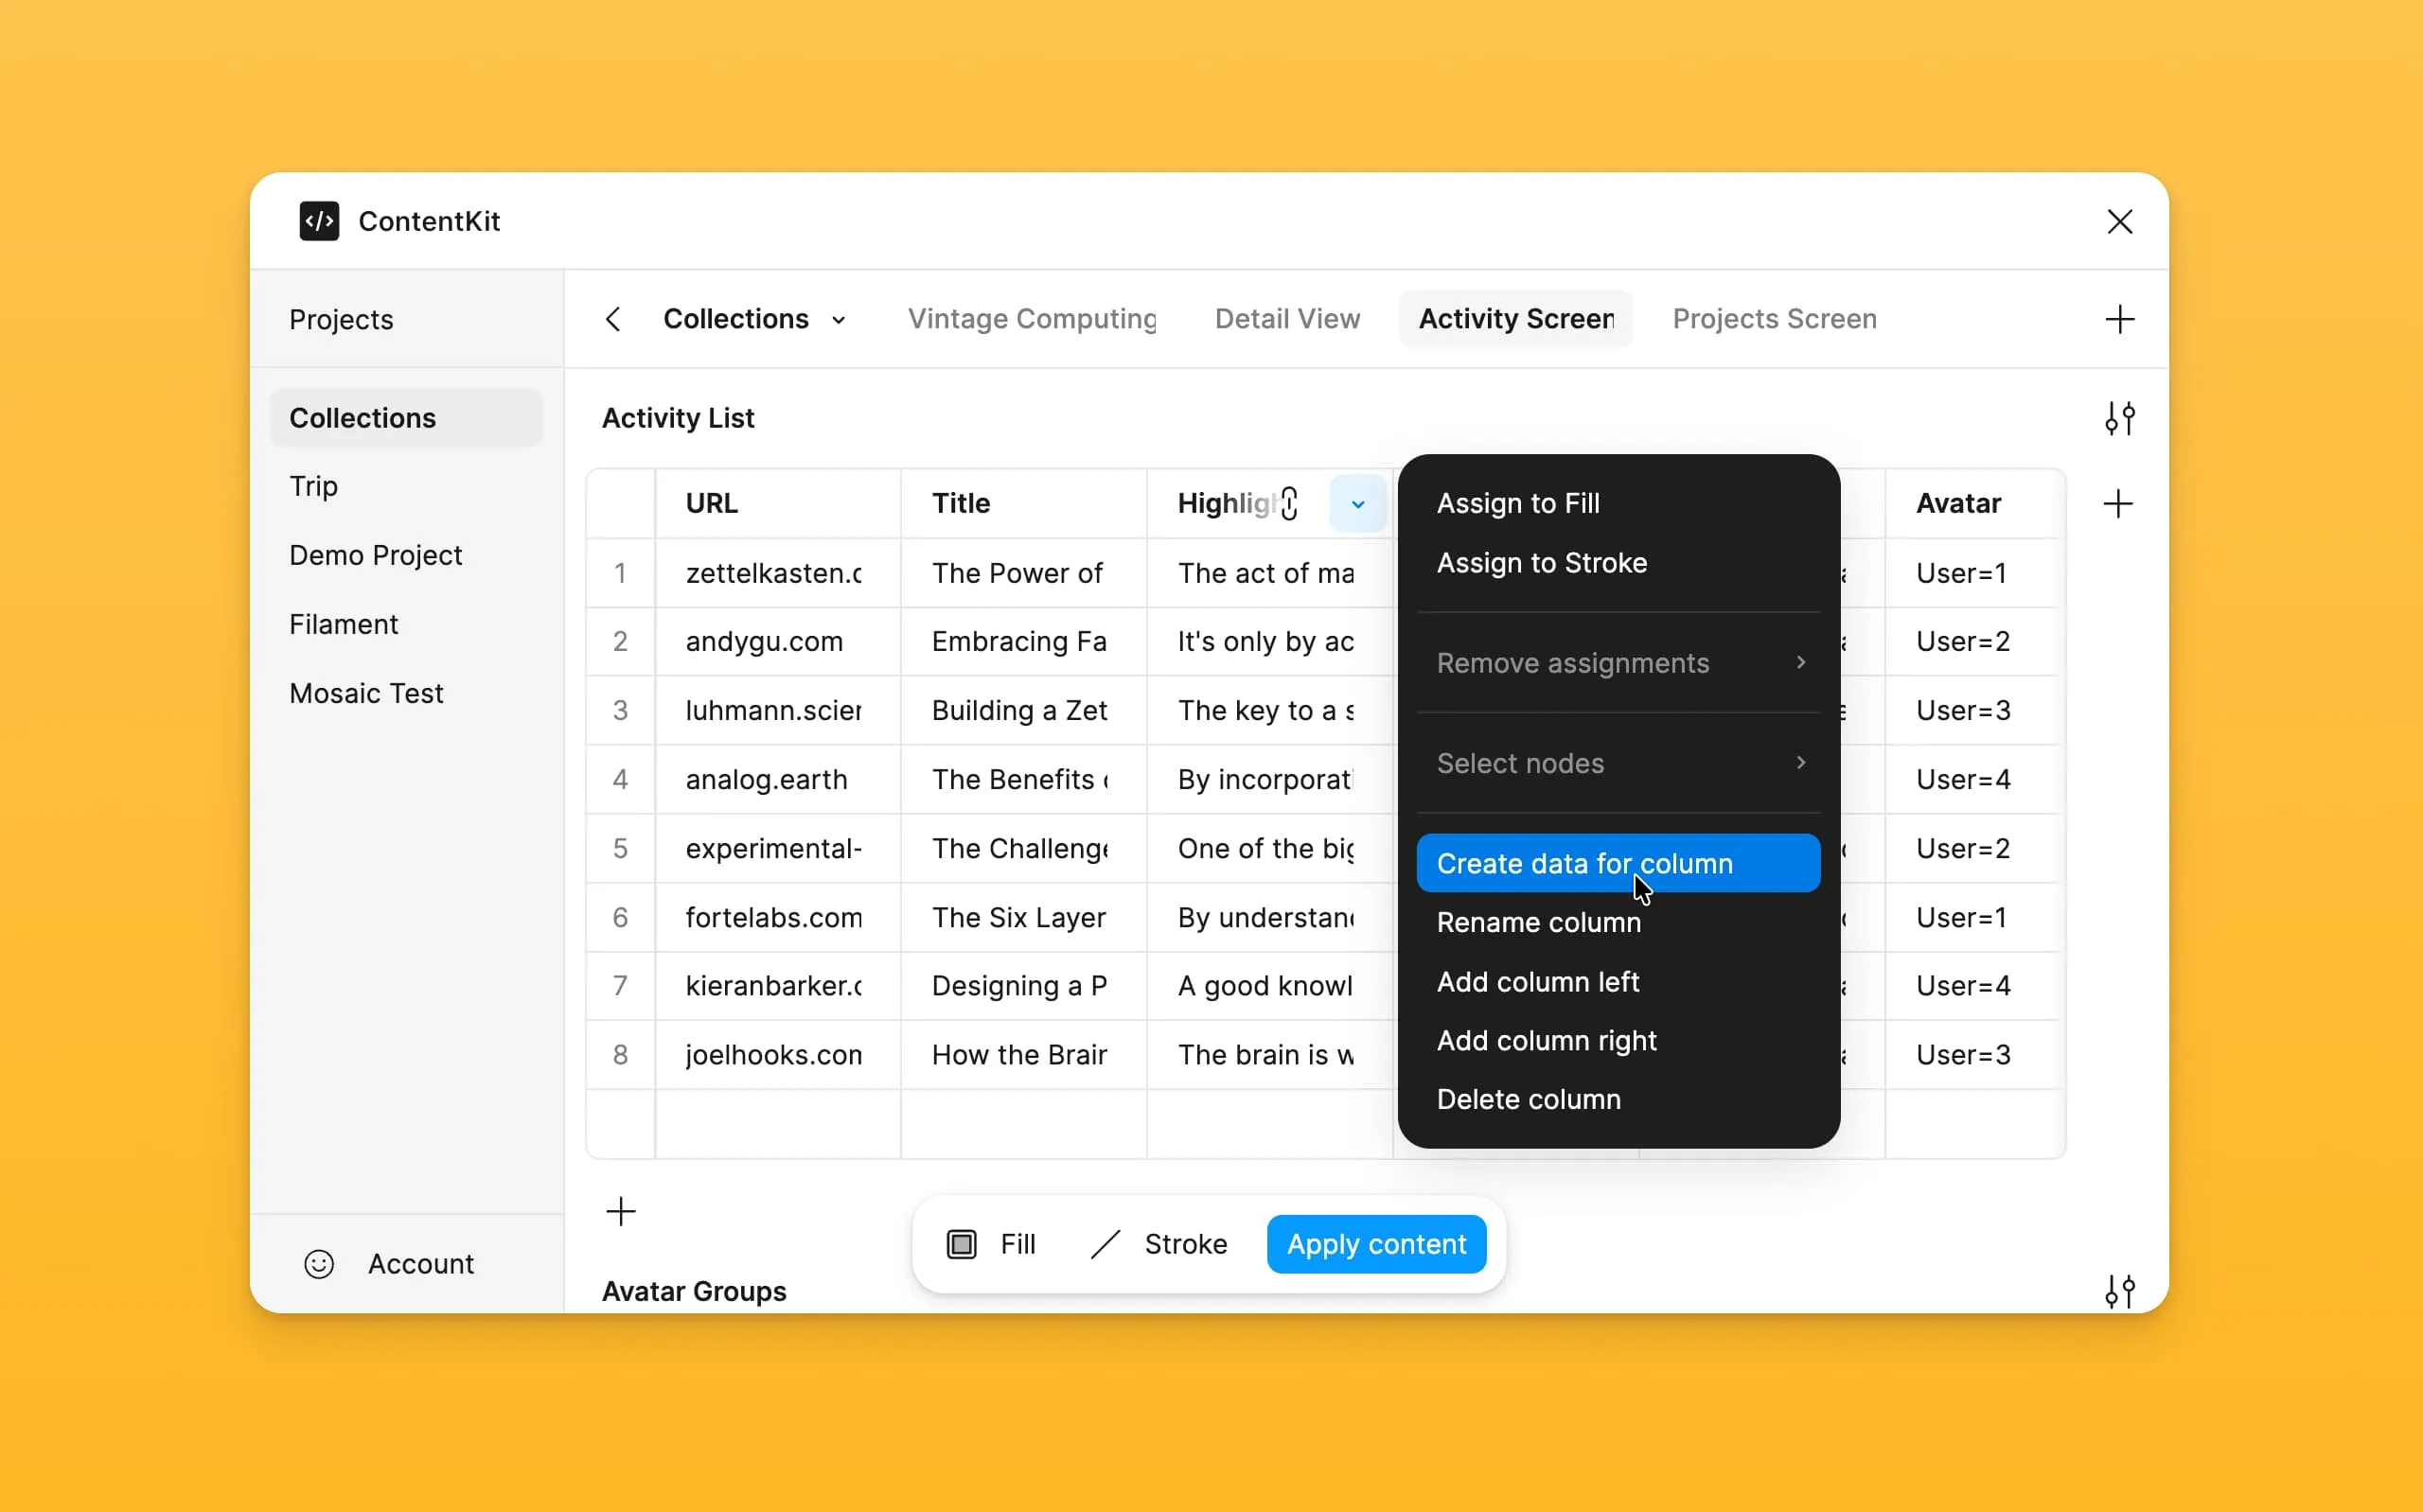
You can also extend or update your data with AI at any time from the column menu. Here it helps to be specific. Mentioning specific column headers that should be updated and writing a detailed description of what data you need and how it should look like will help the AI model to create just the right content. You can also all new columns, here it also helps to specify the exact column headers.
Additionally, the column menu also allows you to set assignments and add and remove columns.

Assigning Content to Designs
Now that you have some data ready, it’s time to assign it to your designs. Other tools also call this “binding.” The plugin shows you a list of valid properties you can assign to your selection, like text to text layers and properties for components. Simply click on a property you want to connect with your data and then click on a column, or vice versa.
Content assignments are saved in the layer names, so renaming them will also delete the assignment. You can also remove assignments in the plugin. ContentKit supports assigning multiple properties to a single layer, for example both text and variant properties can be assigned to a leyer. When doing this, component properties will be applied before any other property, thhis ensures text and colors are applied to the correct layers, in case they only exist in certain variants for example.
Apply your Content in Prototypes
After creating and assigning your content, it takes just one click to apply it to your designs.
ContentKit scans your designs for patterns and repeated layers that have the same content assigned and groups them together. It then populates each group with content from the corresponding rows in your dataset: the first group will get data from row 1, group 2 data from row 2, and so on.
While you can use content from multiple datasets in the same groups – and there are definitely use cases for this – I don’t recommend it. Since ContentKit starts back at the top of your dataset once it reaches the end, using datasets with different lengths will result in unexpected combinations. This could be something you want, but most likely not. Because of that, I recommend grouping all content that belongs together into the same dataset. For example, names, emails, and avatars of a contact list should be grouped in one dataset, while messages from a chat should be kept in separate datasets and have their own names or avatars.
What’s Next?
ContentKit is a powerful tool to speed up your prototyping. Populating variant properties together with text and colors speeds up your design work and lets you focus on the real problems – concept and iterations. In this series, I will explore the different features of ContentKit and highlight hidden tips and tricks, so you can get the most out of it.
Let me know what you think, and if you have any questions or feedback, you can always reach me at [email protected]. I read them all.